STORE DATA MANAGER · HELP CENTRE
Your first export and import
Make one small change, check the result, then practise restoring it.
WATCH THE WALKTHROUGH
See the app in action
Follow the sample-data walkthrough, then use the steps below with a test product in your own store.
Watch on YouTube ↗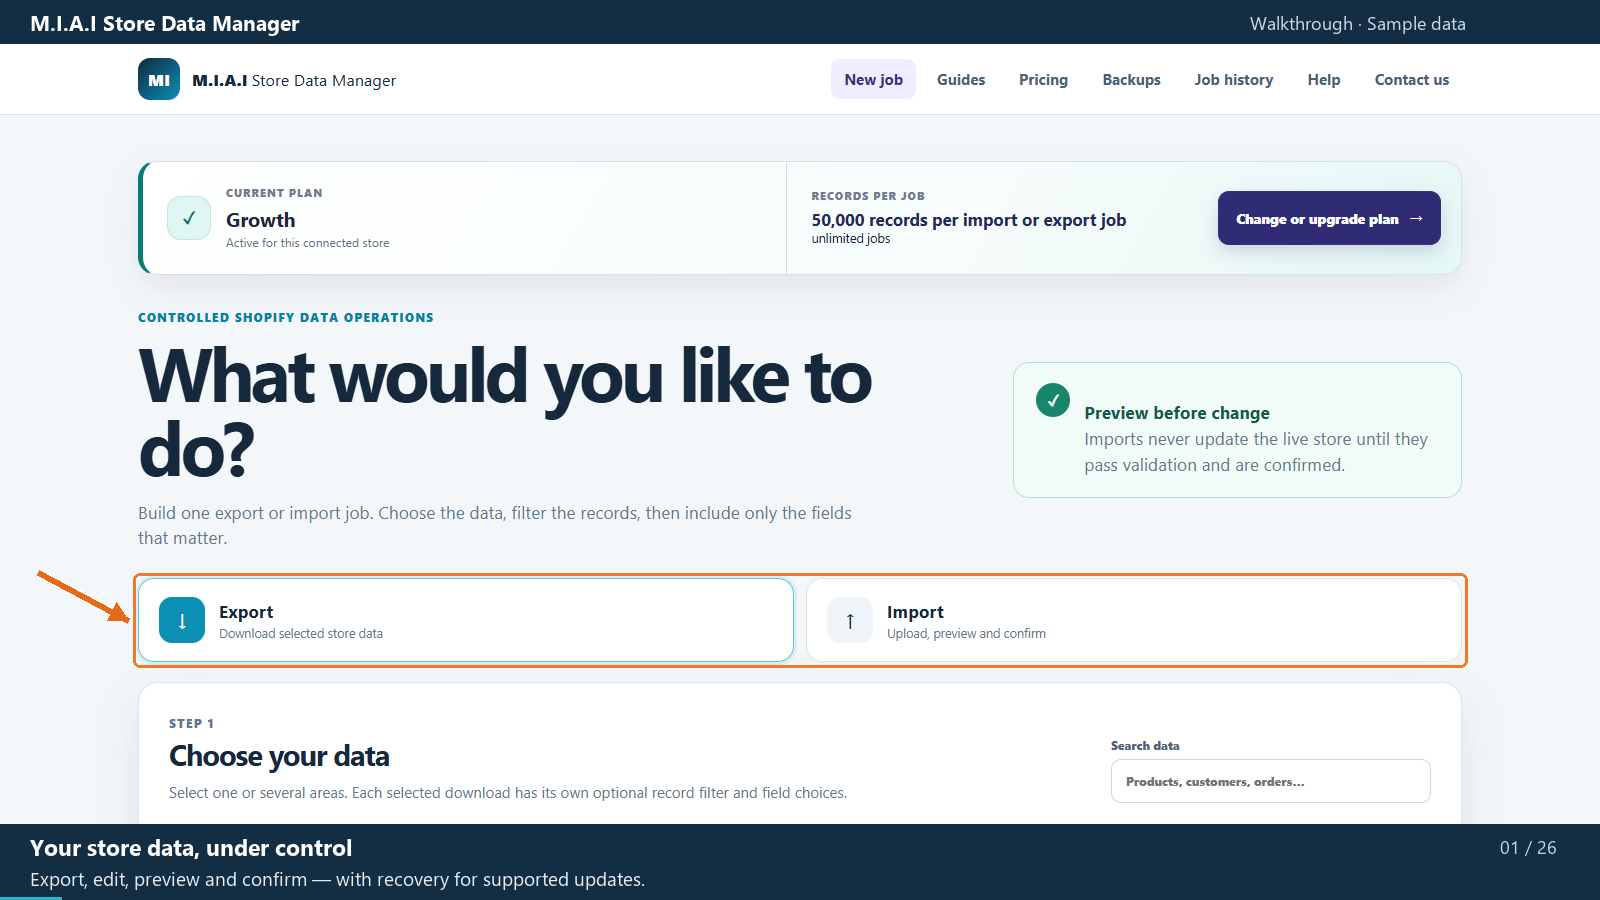
1. Open the app
- Install M.I.A.I Store Data Manager and approve the permissions requested by Shopify.
- Select a plan and approve the terms shown by Shopify. During the seven-day trial, keep this exercise to one test record.
- Open Shopify Admin → Apps → M.I.A.I Store Data Manager. No separate login is needed.
2. Export one test product
- In New job, choose Export, then Products and variants.
- Use the record filter to select a test product. Under Choose fields, include Title. Keep Product ID and Variant ID.
- Select Export selected data. Save an untouched copy of the CSV.
- Open a working copy in your spreadsheet editor. Change the title by adding a short test suffix. Keep both Shopify IDs and the column headings unchanged, then save as CSV.
Use a product you can safely edit. A title-only test makes the result easy to recognise and restore.
3. Preview and confirm
- Return to New job → Import. Choose the edited CSV.
- Select Validate and preview. The app recognises the data area from the file.
- Review the record and title. Resolve any errors before continuing. No Shopify data has changed at this stage.
- Select Confirm changes to Shopify. Wait for the final result and check the updated, skipped and error counts.
4. Check the change and restore
- Open Job history and review the completed import.
- Open the product in Shopify Admin and confirm its title contains your test suffix.
- Return to Backups. Find the product backup created for this import and select Restore backup. Confirm the restoration and wait for Restored.
- Refresh the product in Shopify Admin and confirm the original title is back.
Next: work with several data areas
Select multiple areas when exporting to receive one Excel workbook. Keep each area on its original named tab and preserve its identity columns. Edit only supported fields, then upload the workbook and review each area before confirming. Reporting is export-only and is skipped on workbook import.
Read the file and field guide before using a new area or action.
Need a hand?
Tell us which data area you are working with and what happened. We can help you find your next step.
Contact support